
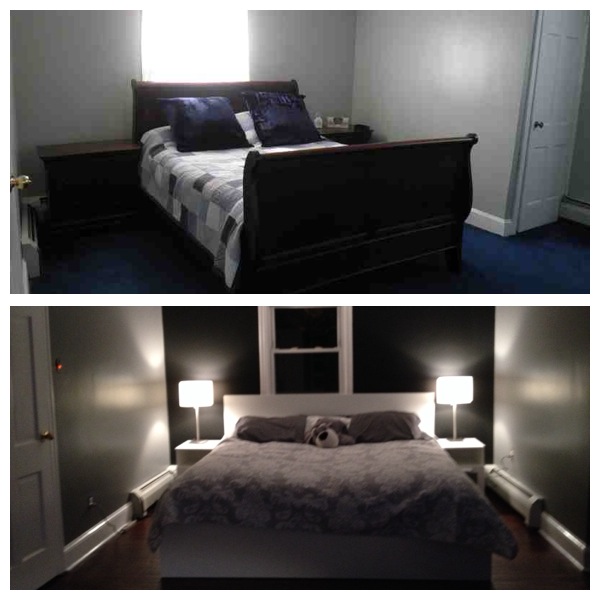
So the master bedroom in our house had an interesting color scheme, there was a teal wall color and a royal blue carpet, and we definitely knew that we wanted to make some changes. As you can see from the pictures below, the room is big but with an odd shape.


The first thing to go was the carpet. The fun part was ripping the carpet up! As is often the case, destroying something is easier than creating something (insert deep philosophical thought here). We used a box cutter to cut the carpet into manageable sizes, rolled these portions up and tied them with some twine. We left them on the side of the road and called the Township to have it picked up. Below was the original hardwood in pretty bad condition along with thousands of carpet staples.
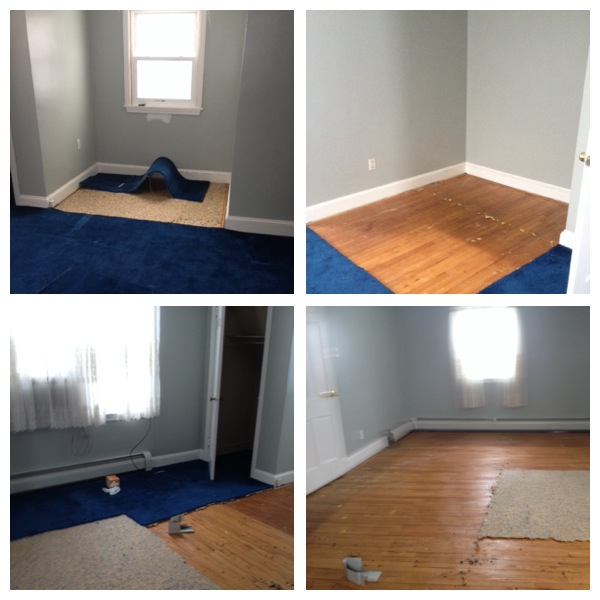
Oh carpet staples, how I despise thee. With chisel and hammer in hand, my husband and I broke our back pulling up each individual staple. I don’t know if there was an easier way but if there is I don’t want to know about it because it might send me into a depression.
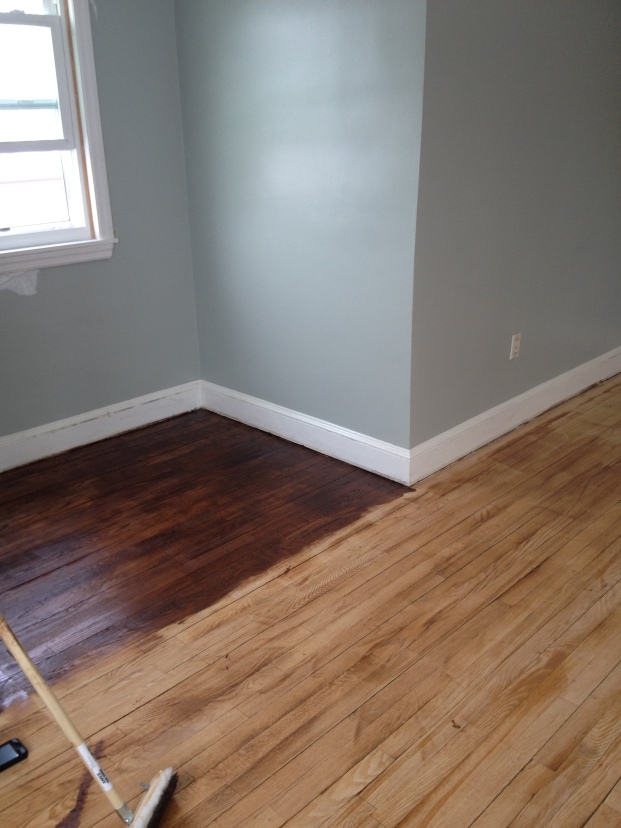
So finally with all the carpet and staples gone we were ready to refinish the wood. We rented two different sanders from Home Depot, a drum sander for the main portion of the flood and a handheld orbital sander for the edges. You have to be very careful with the drum sander, it is extremely powerful and once you start it up you have to move it forward at a steady pace in order to sand the floor evenly. Staying in one spot will cause dents in the floor. I forgot the number sand paper we used but you first use a heavier duty sandpaper (the lower the grit number the coarser the sand paper is) and then you finish with a finer grit paper. The edging sander was a major pain in the neck, or rather pain in the back to be more literal. Thankfully my husband took care of the edges because that machine was quite heavy.


Once we finished sanding, we thoroughly swept the room and then vacuumed as well. You want to eliminate as much dust as possible to get a nicer finish on the stain. We wen with the Miniwax Dark Walnut color for the bedroom for some variety as the rest of the wood flooring in the house had a lighter, natural wood color. Staining is basically painting the floor, and the idea is that the more you apply the darker the color will be. The sanding took off any sealant the wood had, opening the pores to allow for the stain to soak in. You want to be very even with your paint strokes and do small portions at a time to get the best result. You then need to wait a few hours for the stain to really soak in and dry a bit. The last step is the polyurethane, we applied this with a mop-like appliance. The polyurethane seals in the stain and gives a protective layer for the wood.
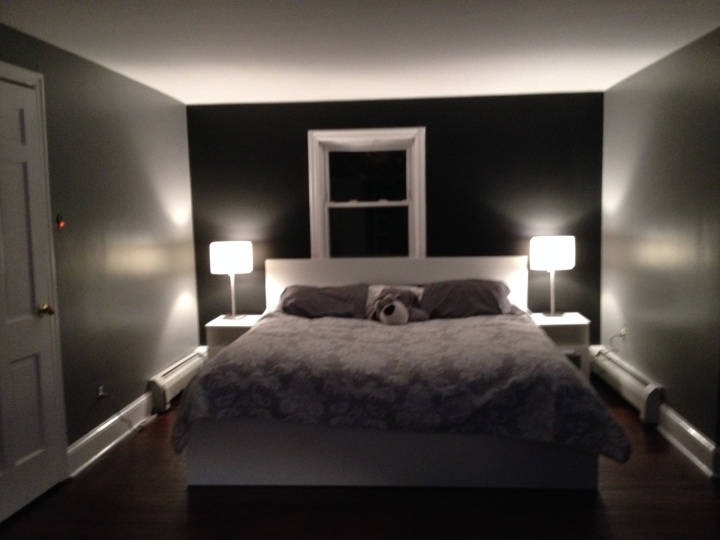
Once the wood floor was finished we set to work on the painting. Big G actually selected the color theme gray with black accent and white furniture. Of course before I gave in to the idea of black walls we had settled on using two different shades of gray. The issue was that once the two colors were on the wall you couldn’t tell the difference between them! So paint tip #1: buy samples and test it out on different walls in the room, the paint will look very different depending on how much light and shadowing there is. So back to the store we went to get the black paint my husband had initially suggested. Painting an accent was is difficult but was worth it in the end, the key is to work slowly and tape the edges well! Paint tip #2: The time and effort you put into the prepping stage really makes for a quicker and more quality paint job.
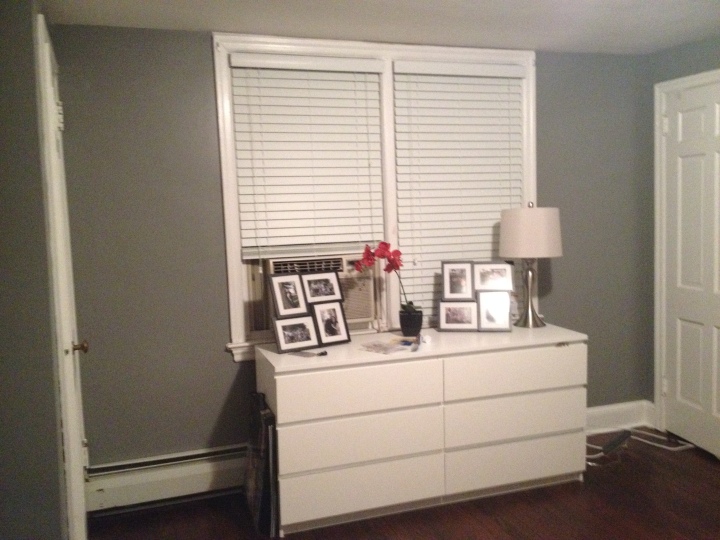
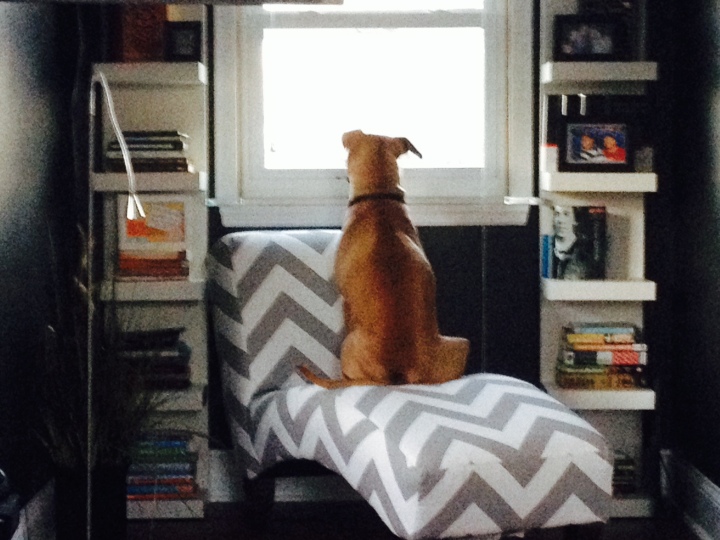
I don’t have any pictures of the room painted but empty so lets skip to the good part! A trip or two to IKEA to pick out the furniture, one broken back (me trying to be superwoman), and a lot of hours later, we were so happy to see the final product!

love this post. You are a renovation professonal 🙂 I love it!
LikeLike
Why thank you but far from it! ☺️
LikeLike
yes you are! I agree with Joelle. I also think we should really start a business… 😉
LikeLike
Lets do it!!
LikeLiked by 1 person
Ohhh wow.. this is absolutely beautiful 😍😍😍
LikeLike
Thanks so much Pooja!
LikeLike